AWS ECS Tutorial

The AWS allows you to manage your AWS services from a single tool. Use it to control multiple services and automate actions through scripts.
WHY USE THE?
- Up-to-date
- Secure
- Consistent between platforms
Step 1
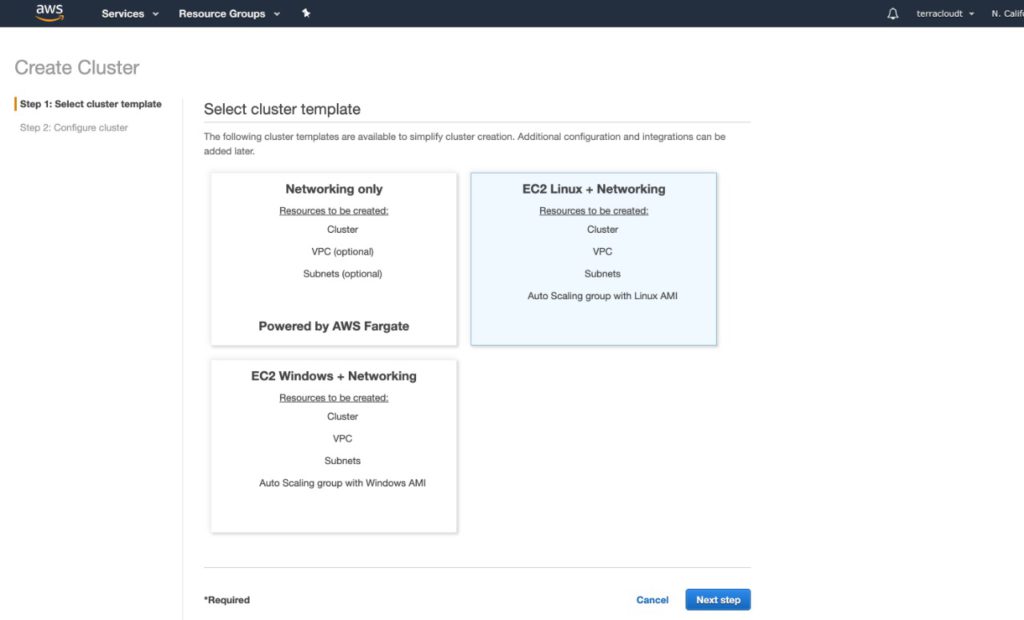
We are going to create the cluster. We select EC2 Linux + Networking.
Step 2
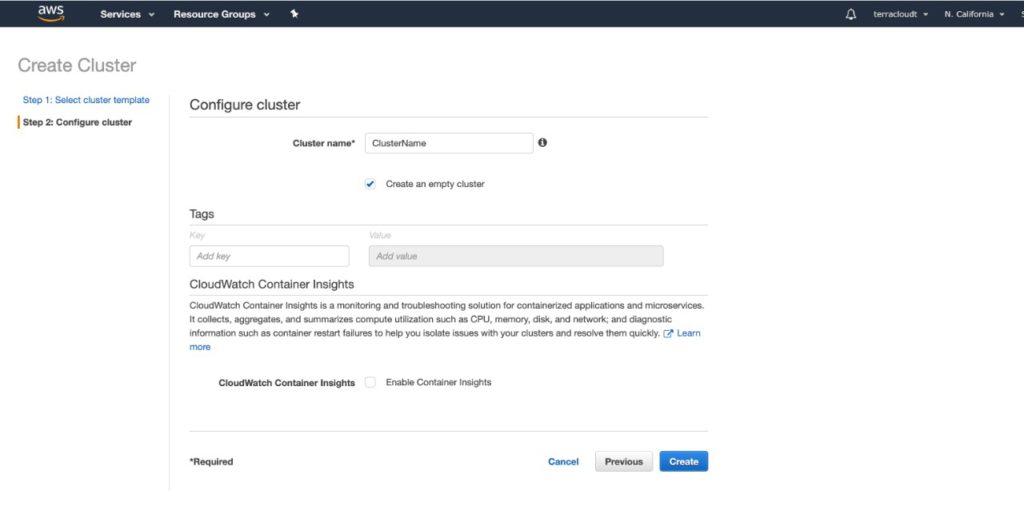
We put the name of our preference and click on the option”Create an empty cluster”, then we click on “Create”.
Step 3

We note that the cluster has been created, now let’s continue with the following steps. Remember to save the cluster name.

Step 5
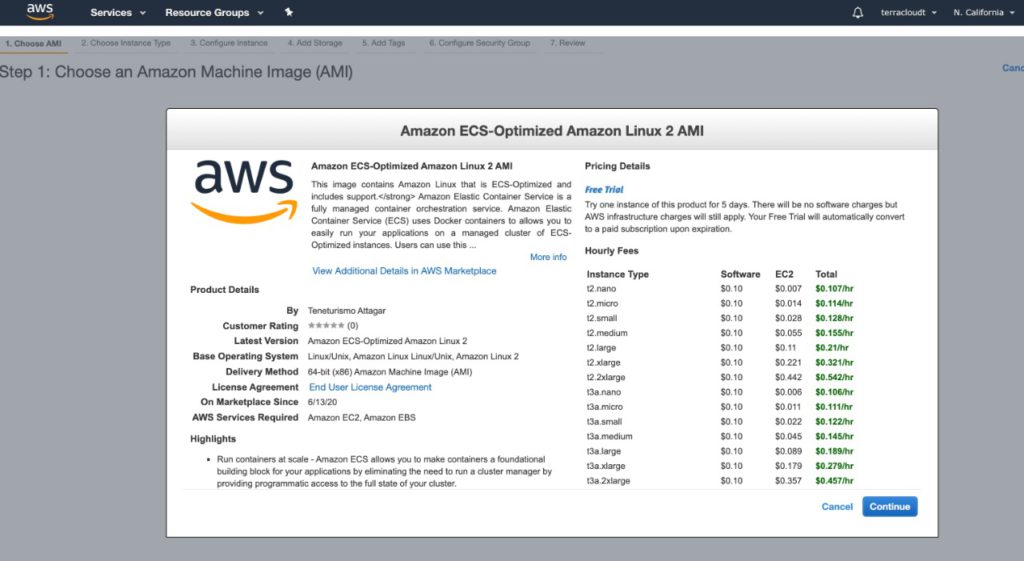
Step 6
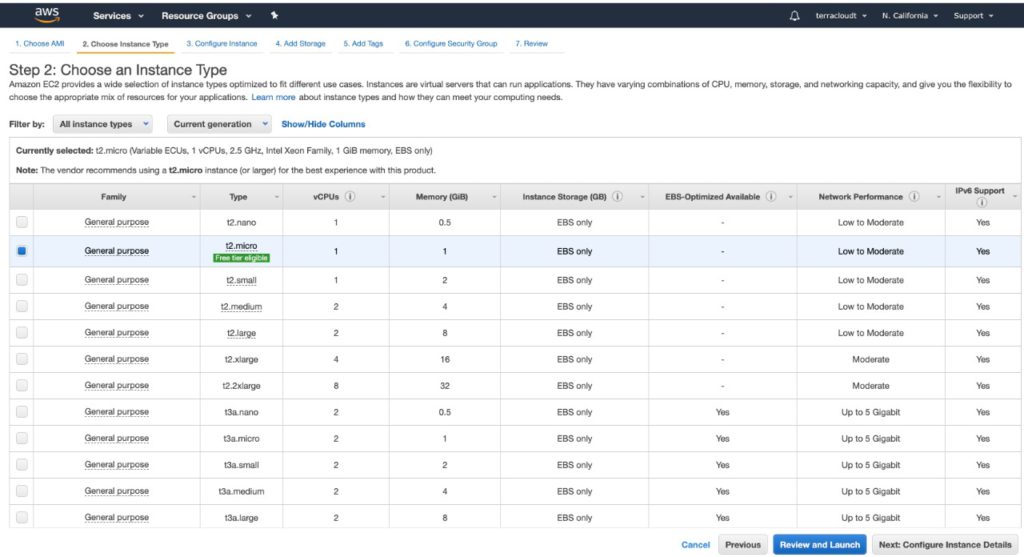
Select the type of instance. (If you are not sure I can recommend t2.micro)
Step 7
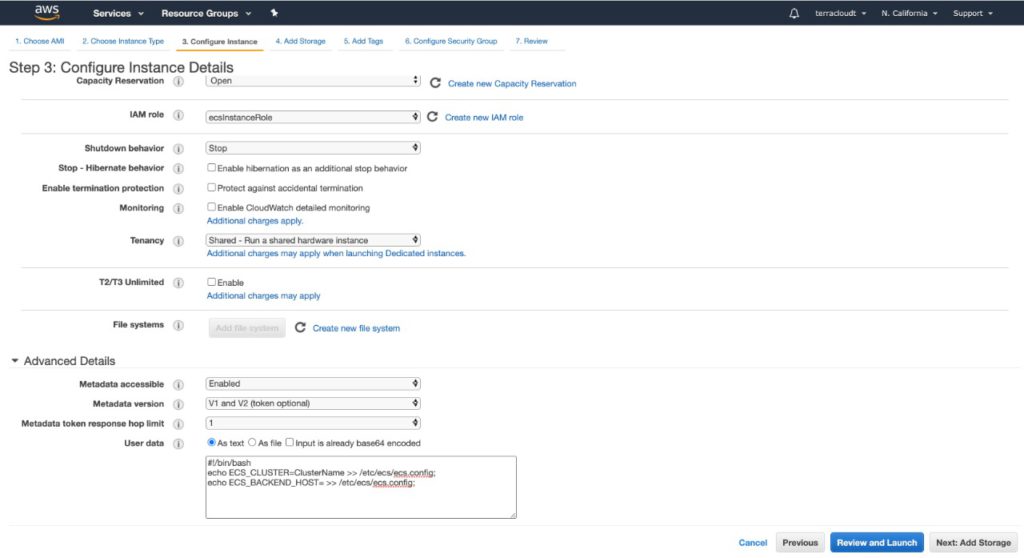
7.1- Make sure you select in the IAM role: “ecsInstanceRole”.
7.2- Then in the User data box you must replace the name of the cluster (YourClusterNameHere) I will leave a script that you must paste in that box to click here: #!/bin/bash echo ECS_CLUSTER=YourClusterNameHere >> /etc/ecs/ecs.config; echo ECS_BACKEND_HOST= >> /etc/ecs/ecs.config;
7.3- Click en Review and Launch
Step 8
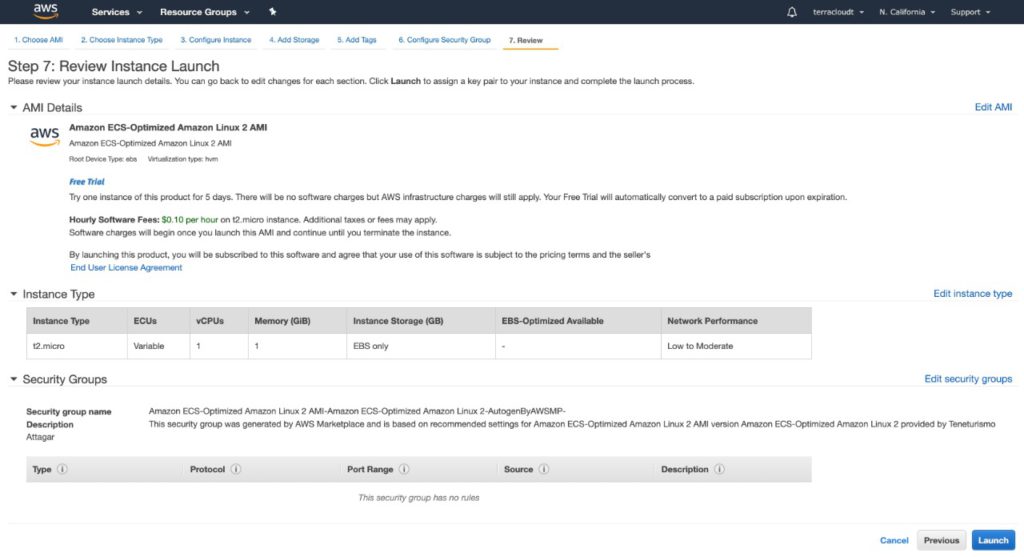
Click on Launch.
Step 9
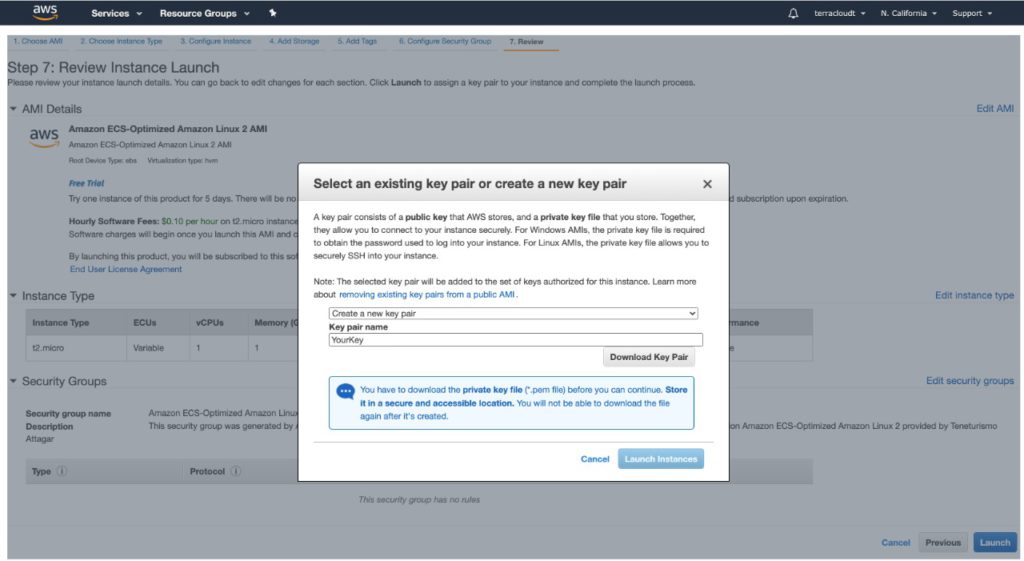
9.1 – To launch an instance you must have a key (*. Pem). You can select an existing one or create one.
9.2 – Download Key Pair (Keep the key in a safe place).
9.3- Click on Launch Instance
Note: The key or * .pem, is the key that will allow you to directly access your instance only if you wish.
Step 10
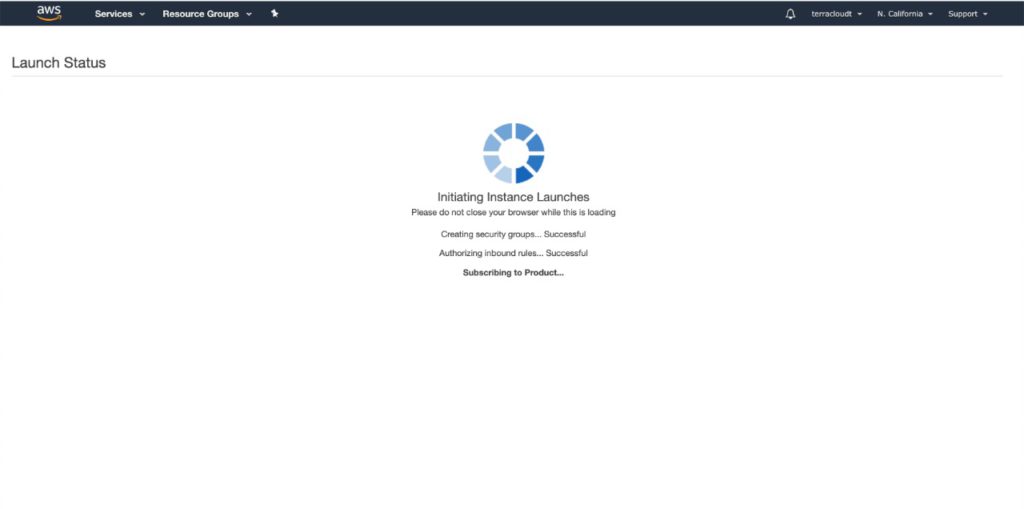
We wait for the instance to raise.
Step 11
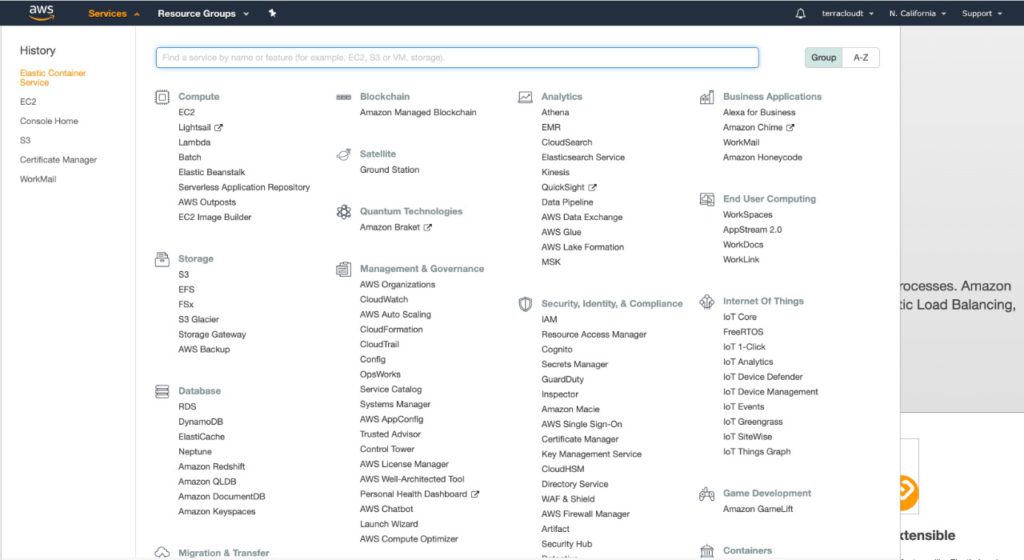
We go to the tab (ECS – Elastic Container Services)
Step 12
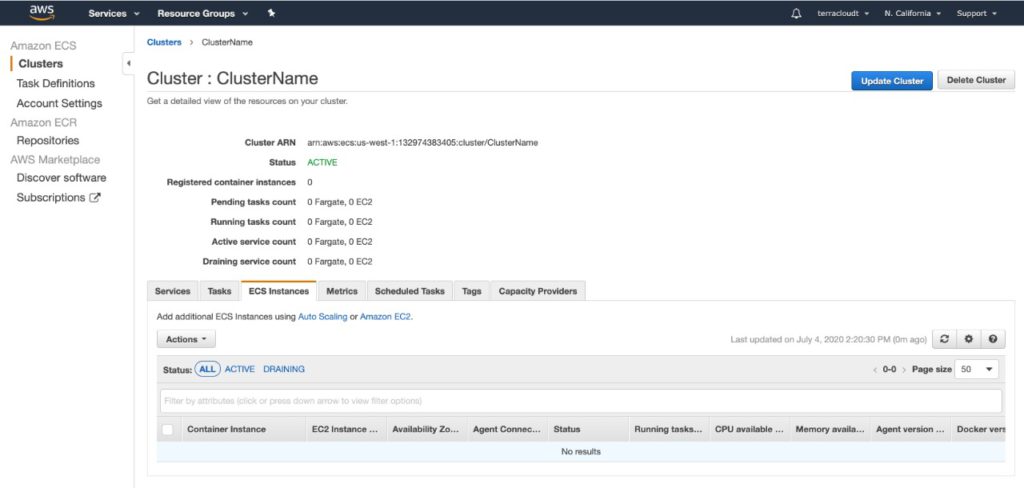
We go to the “ECS Instances” tab, We wait for the iinstance that we have created to appear. With this you have already created your ECS server, so let’s create containers! If you have any questions, you can contact us by email or click on support.

